Quick Start
This flow walks you through manually adding an execution node, creating an MCP token, and using it directly in Claude Code.
1. Start the control node
Refer to the Install documentation to at least complete starting the control node.
- One-click installer: prints the access address and randomly generated admin credentials on success.
- Manual startup: if no admin account exists, the console prints randomly generated admin credentials on first startup.
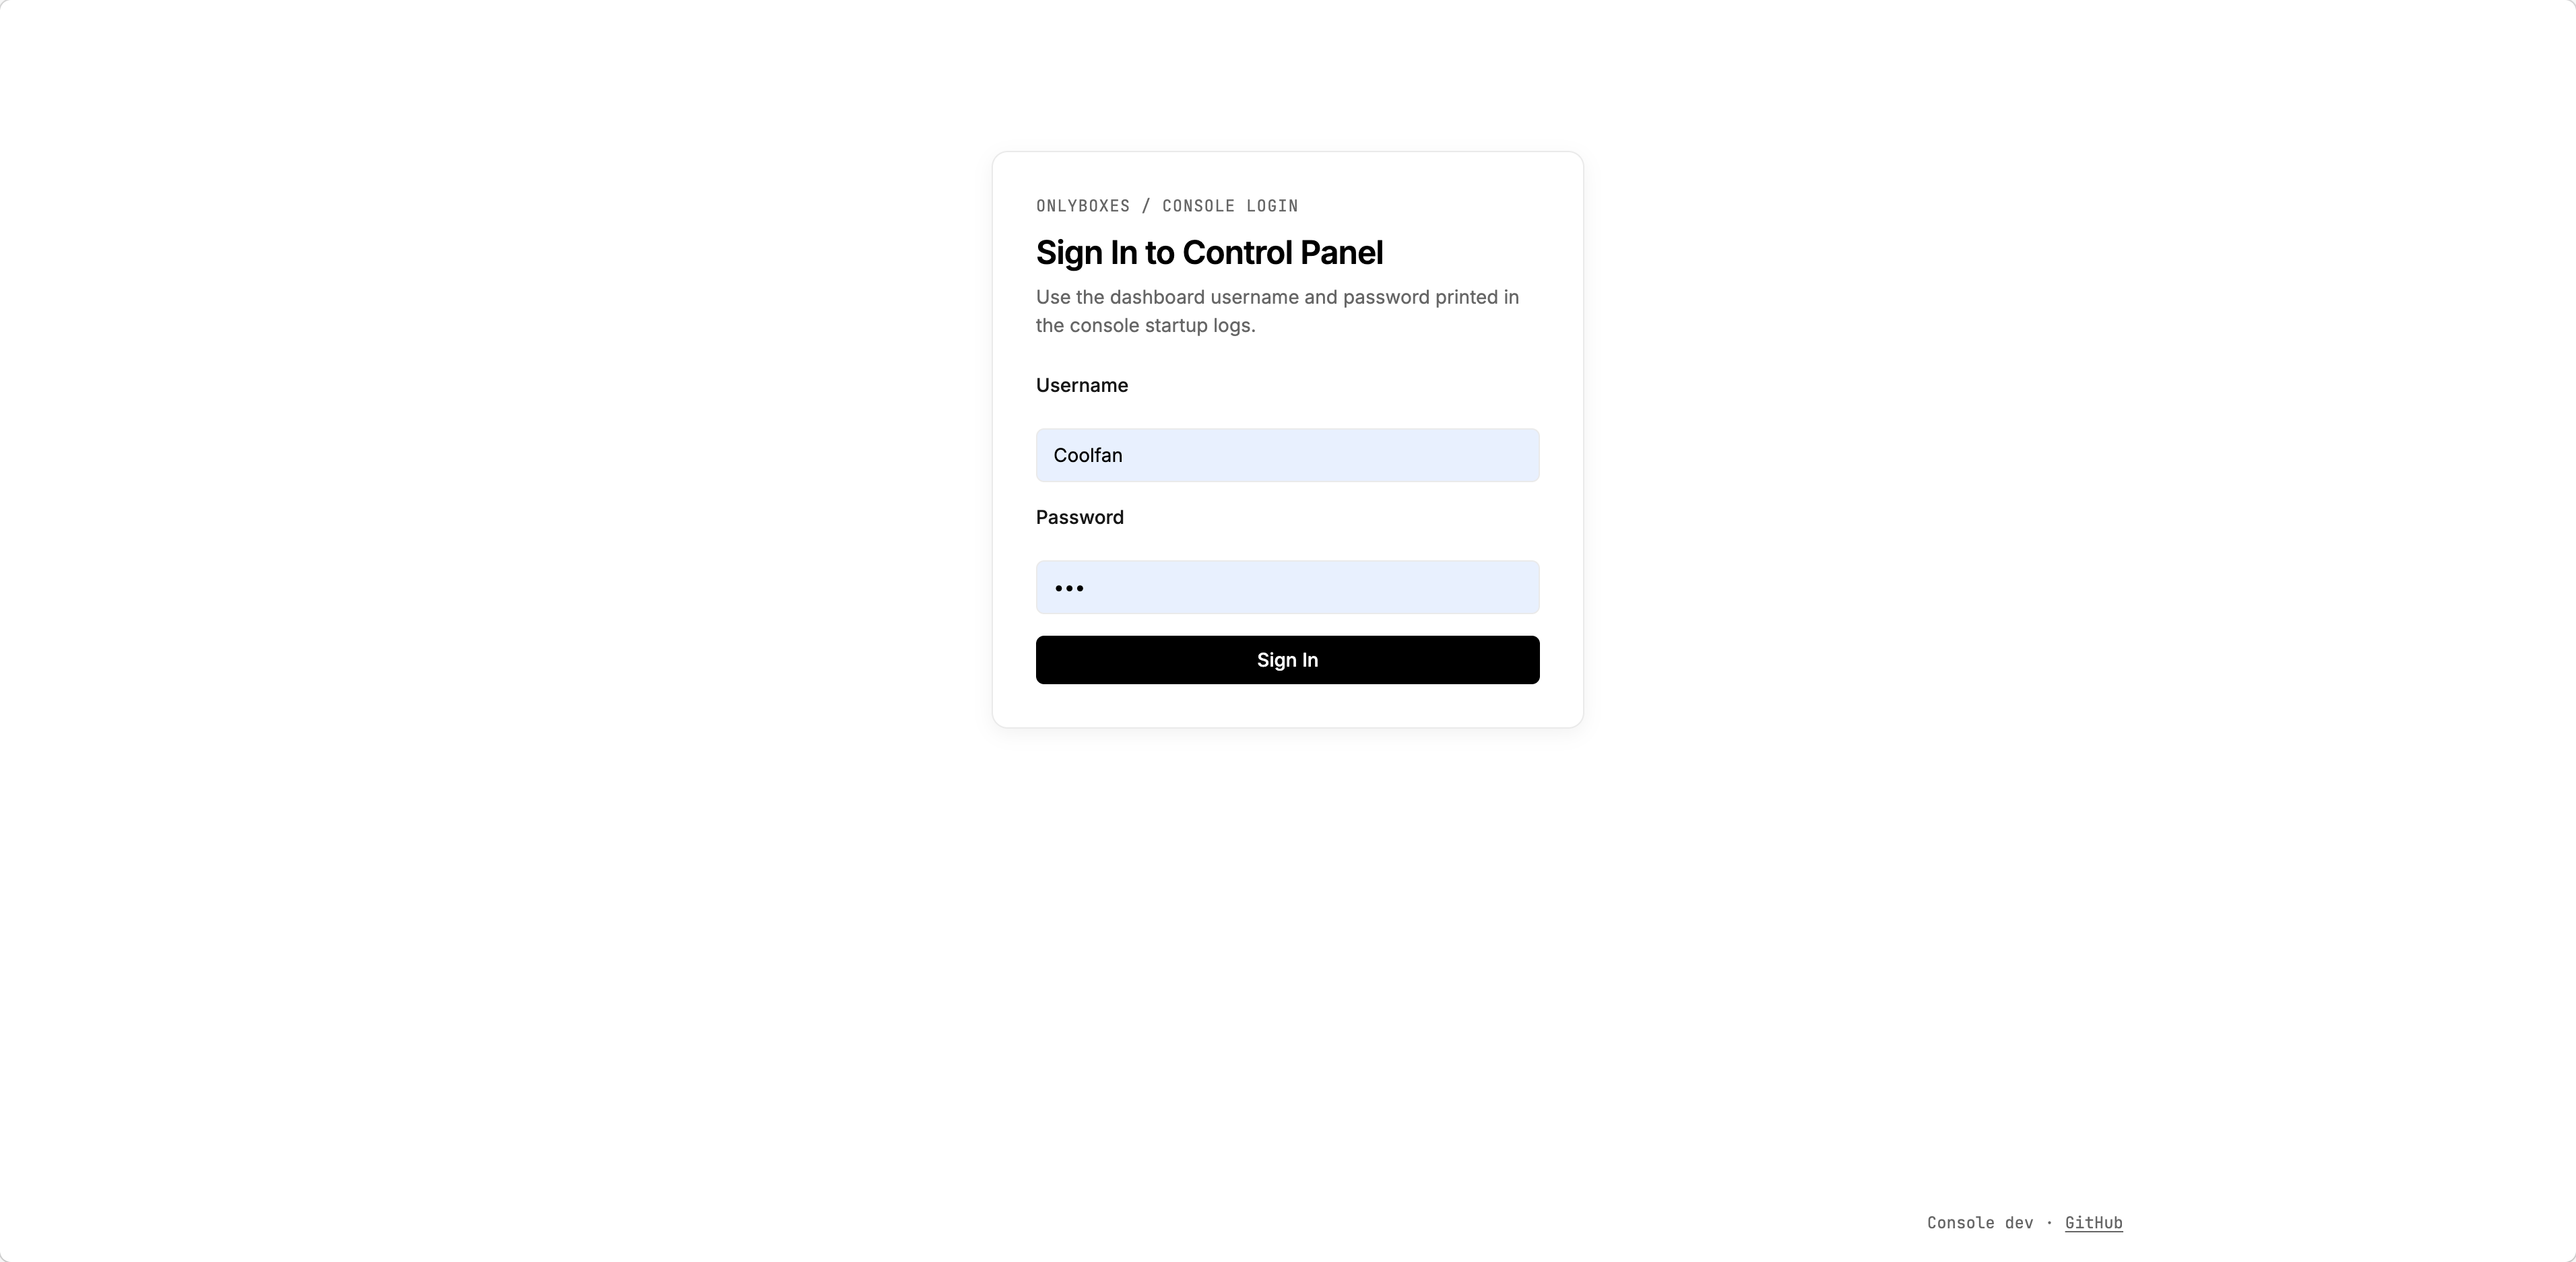
2. Sign in
Open http://127.0.0.1:8089 or your own domain, and sign in with the initialized admin account.
3. Create a worker
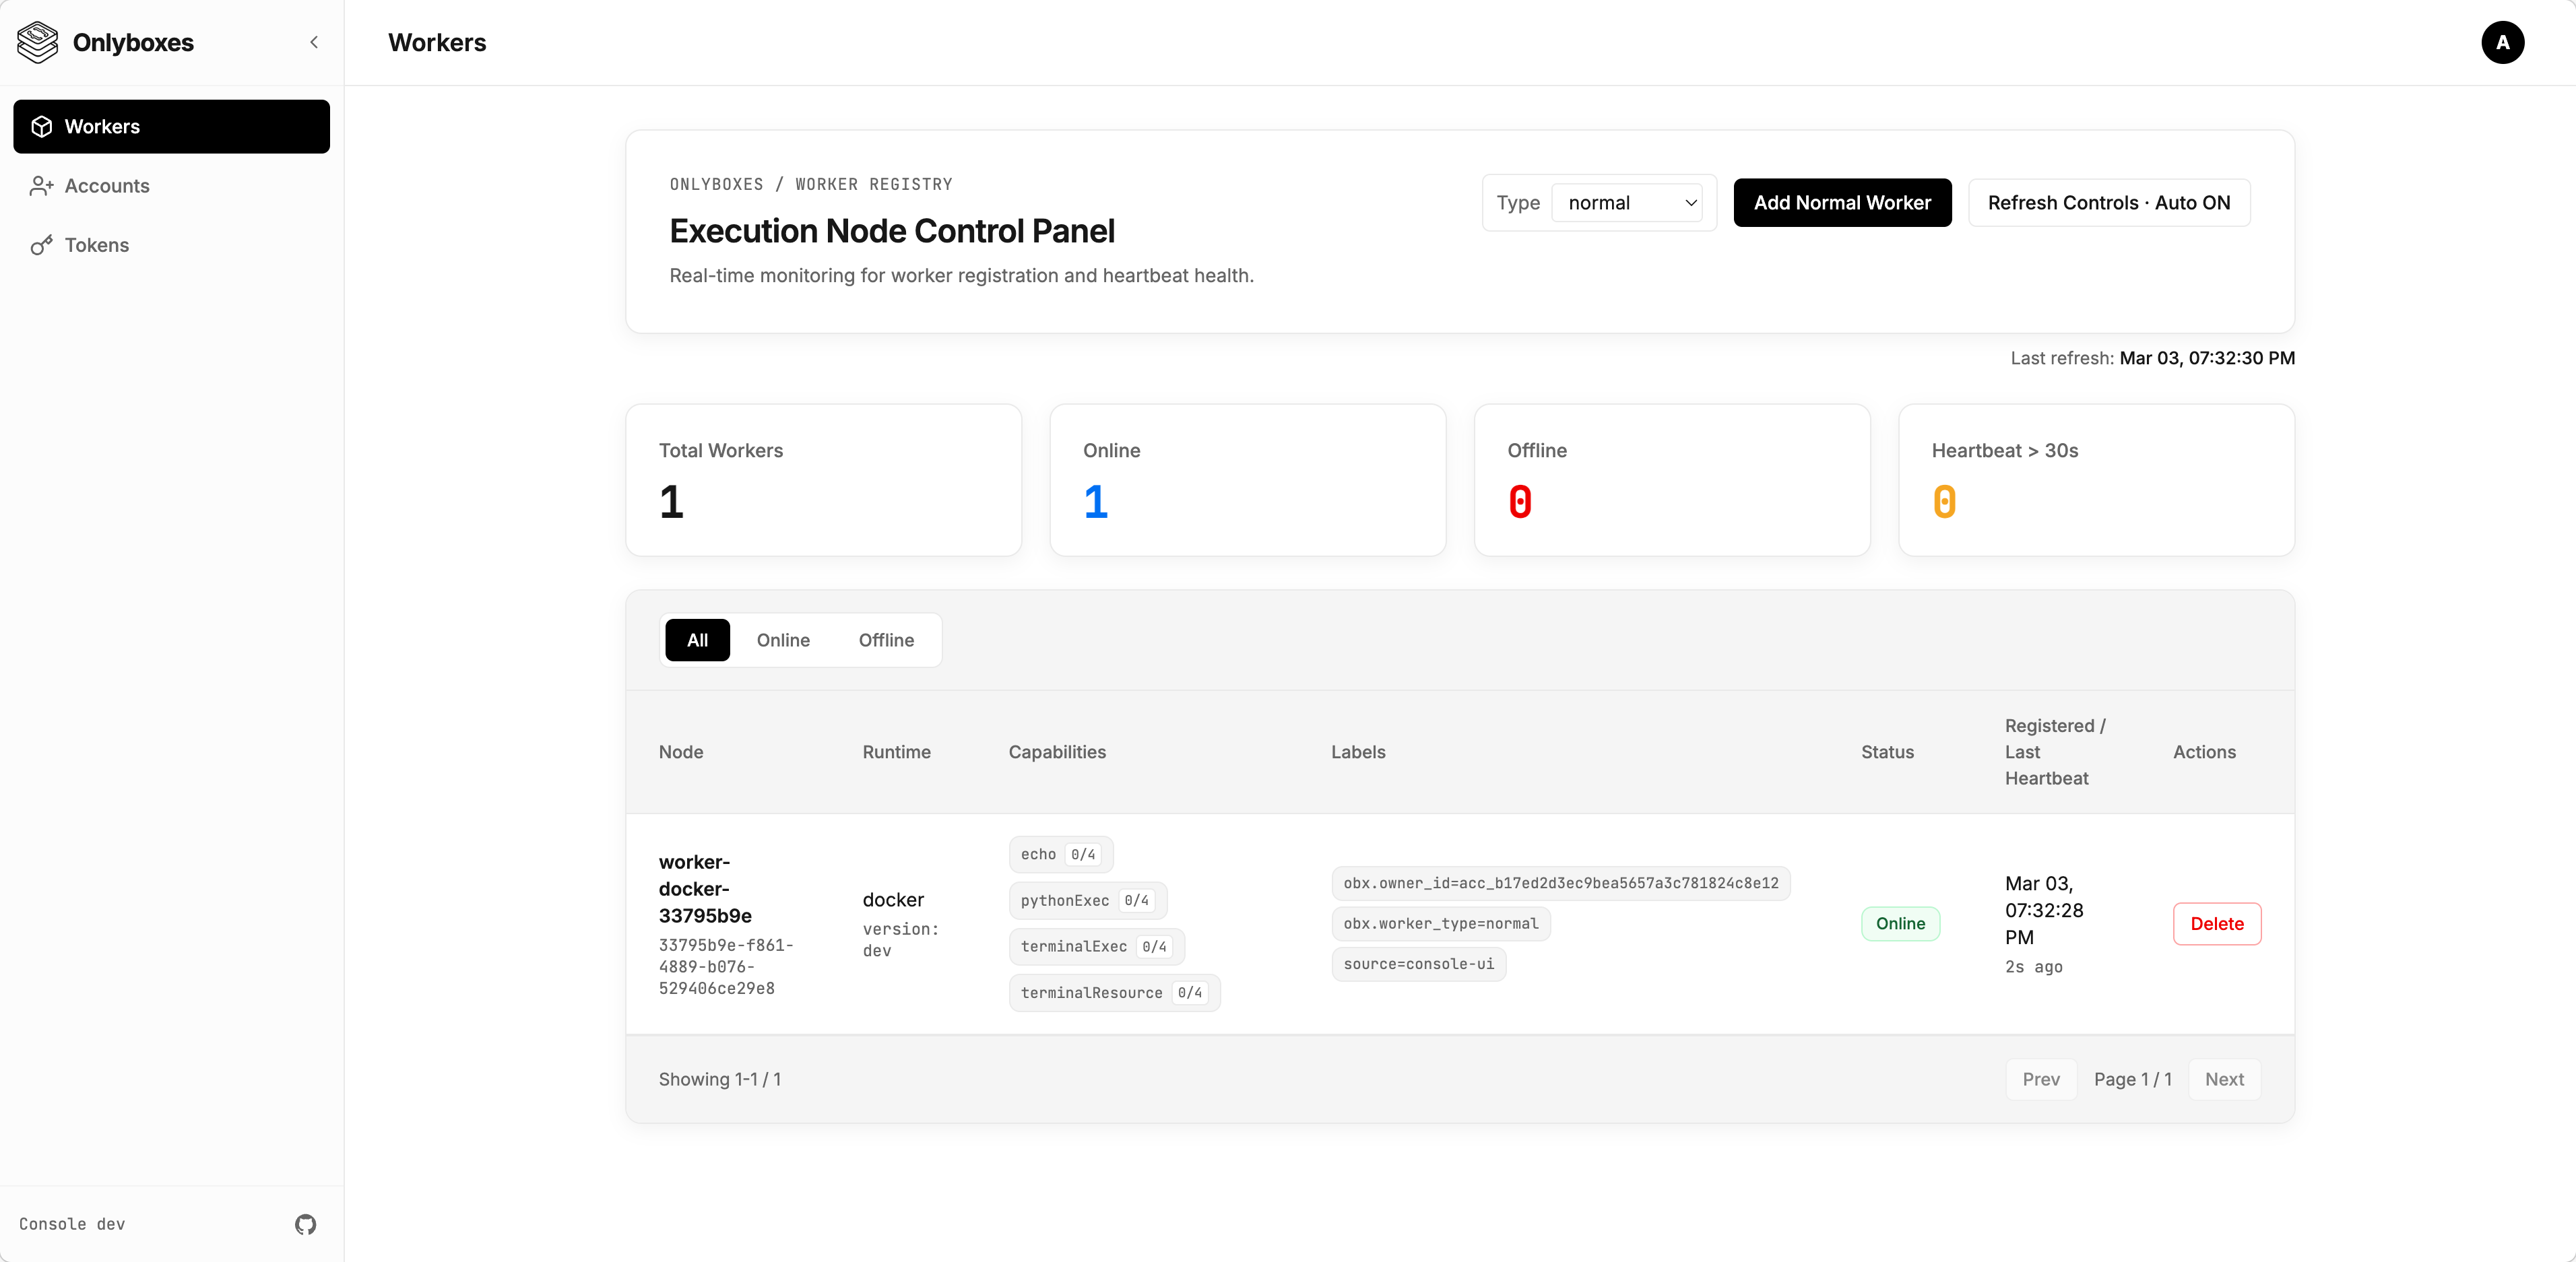
Go to the Workers page and create a worker.
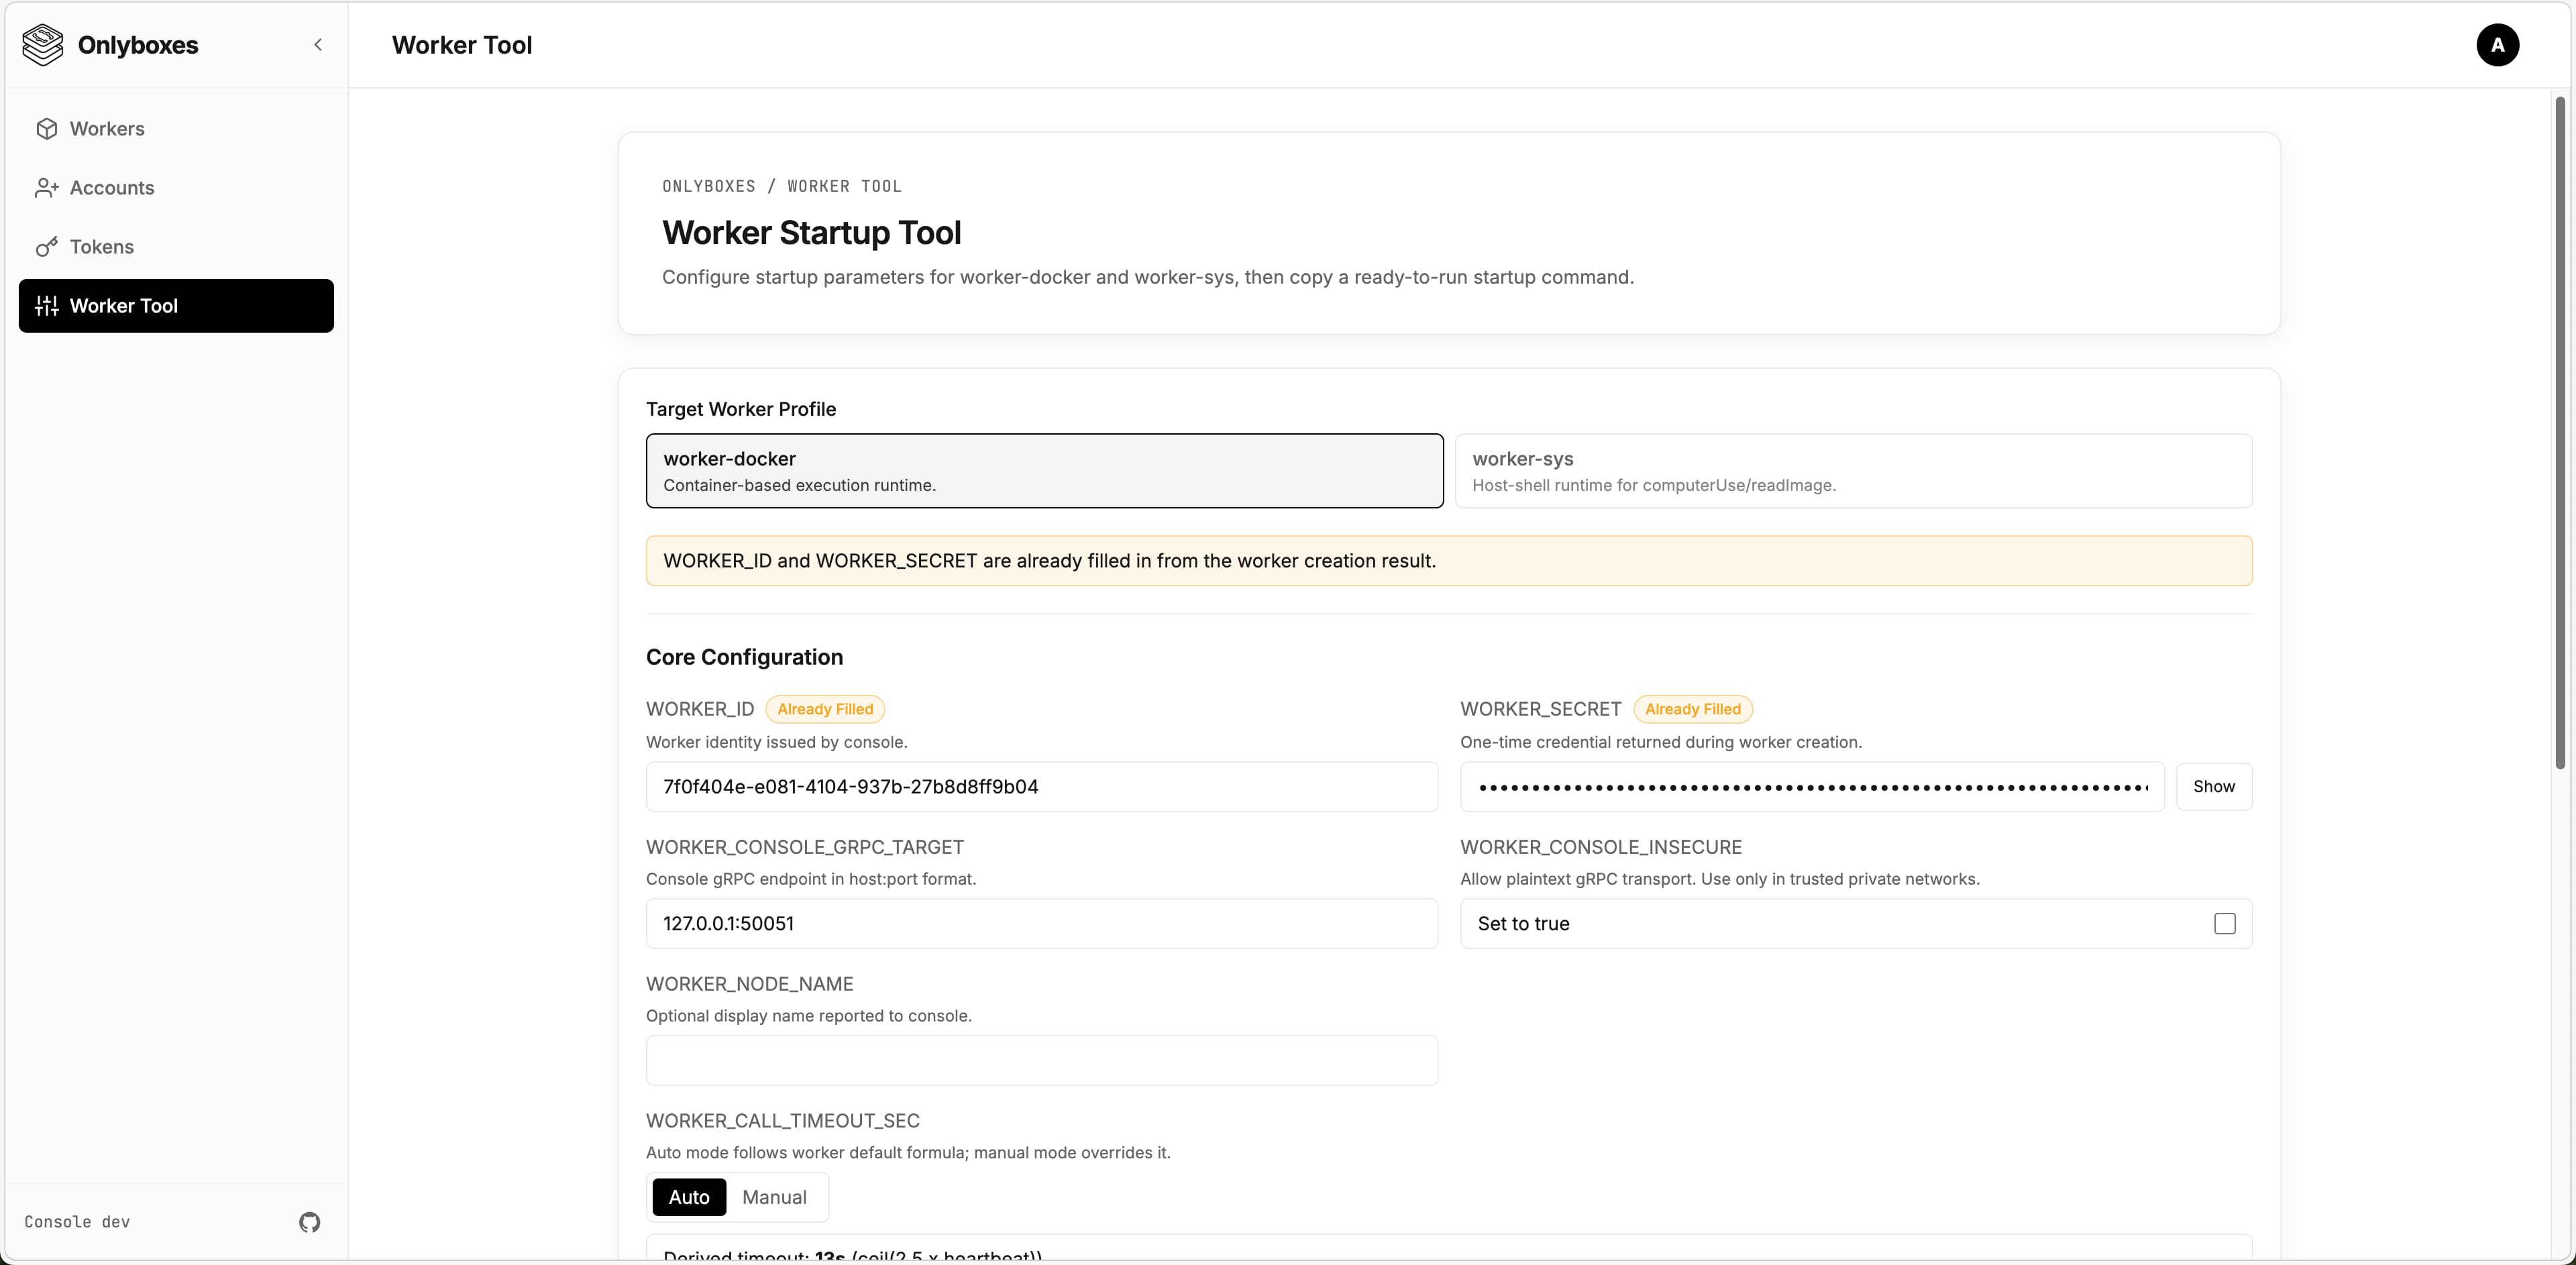
The creation dialog returns the worker id, one-time secret, and a startup command.
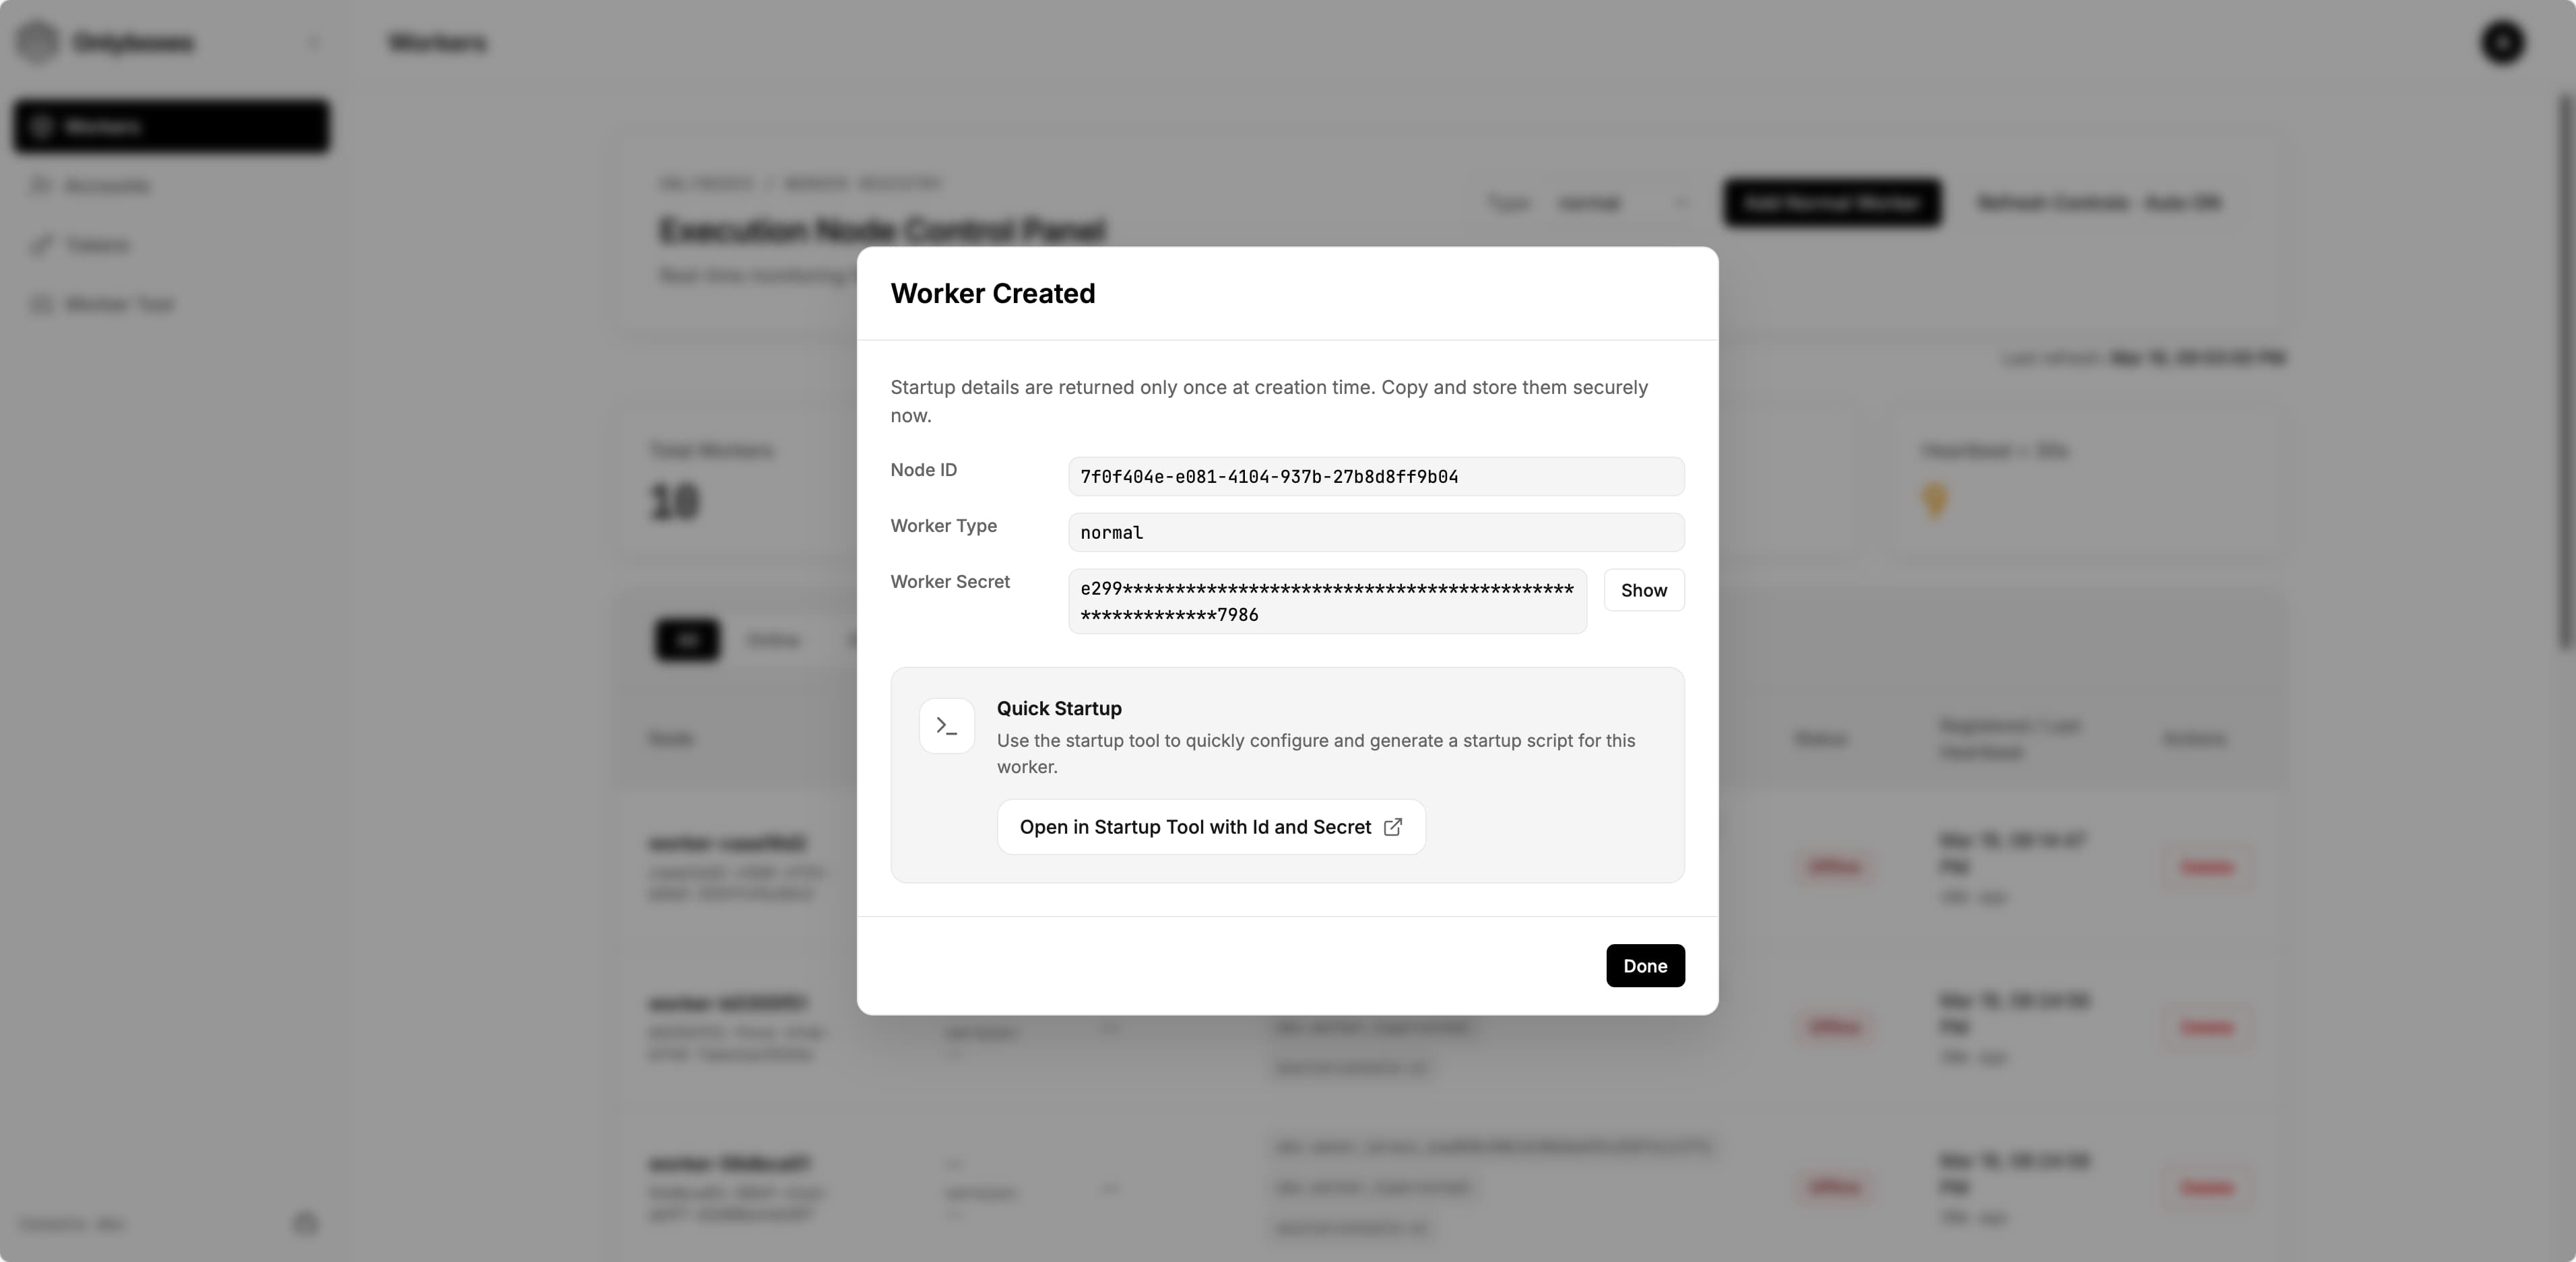
If you need to re-edit the command, open the startup command builder with prefilled parameters.
4. Start the worker
Download the matching version of the worker-docker binary from the GitHub releases page.
Use the generated values with the binary you downloaded:
WORKER_CONSOLE_INSECURE=true \
WORKER_CONSOLE_GRPC_TARGET=127.0.0.1:50051 \
WORKER_ID=<worker_id> \
WORKER_SECRET=<worker_secret> \
/path/to/onlyboxes-worker-docker
5. Verify readiness
- Confirm that the worker is
onlineon the dashboard.
6. Use in Claude Code
Create an access token from the token management page and store the plaintext token immediately.
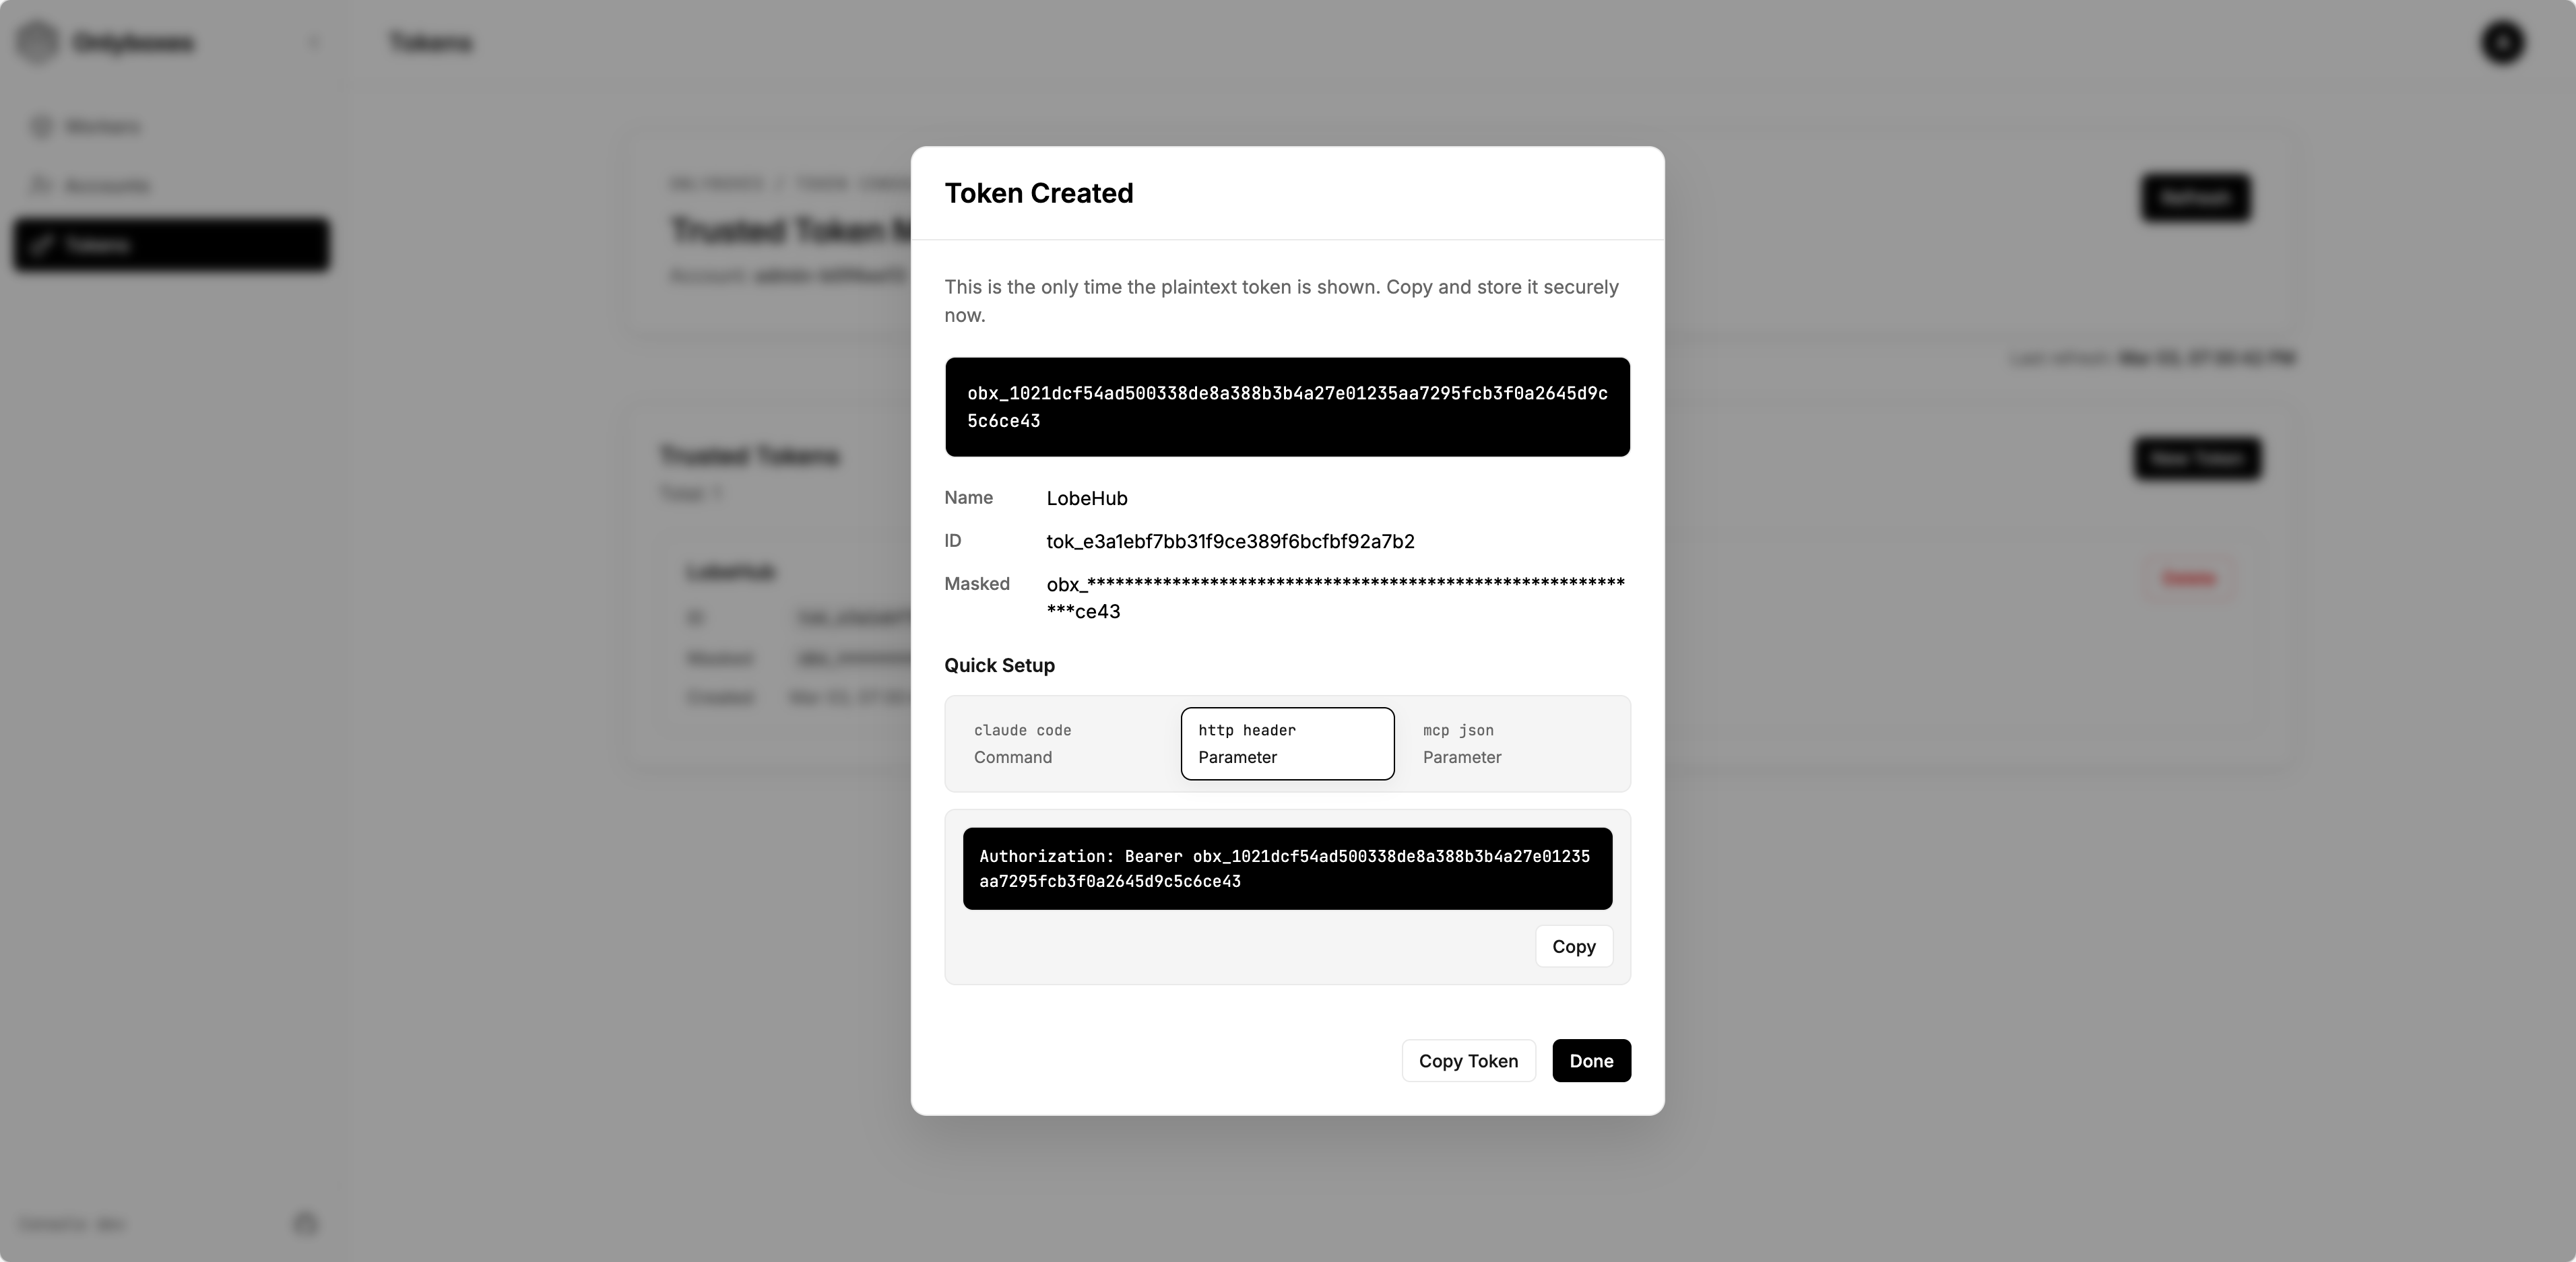
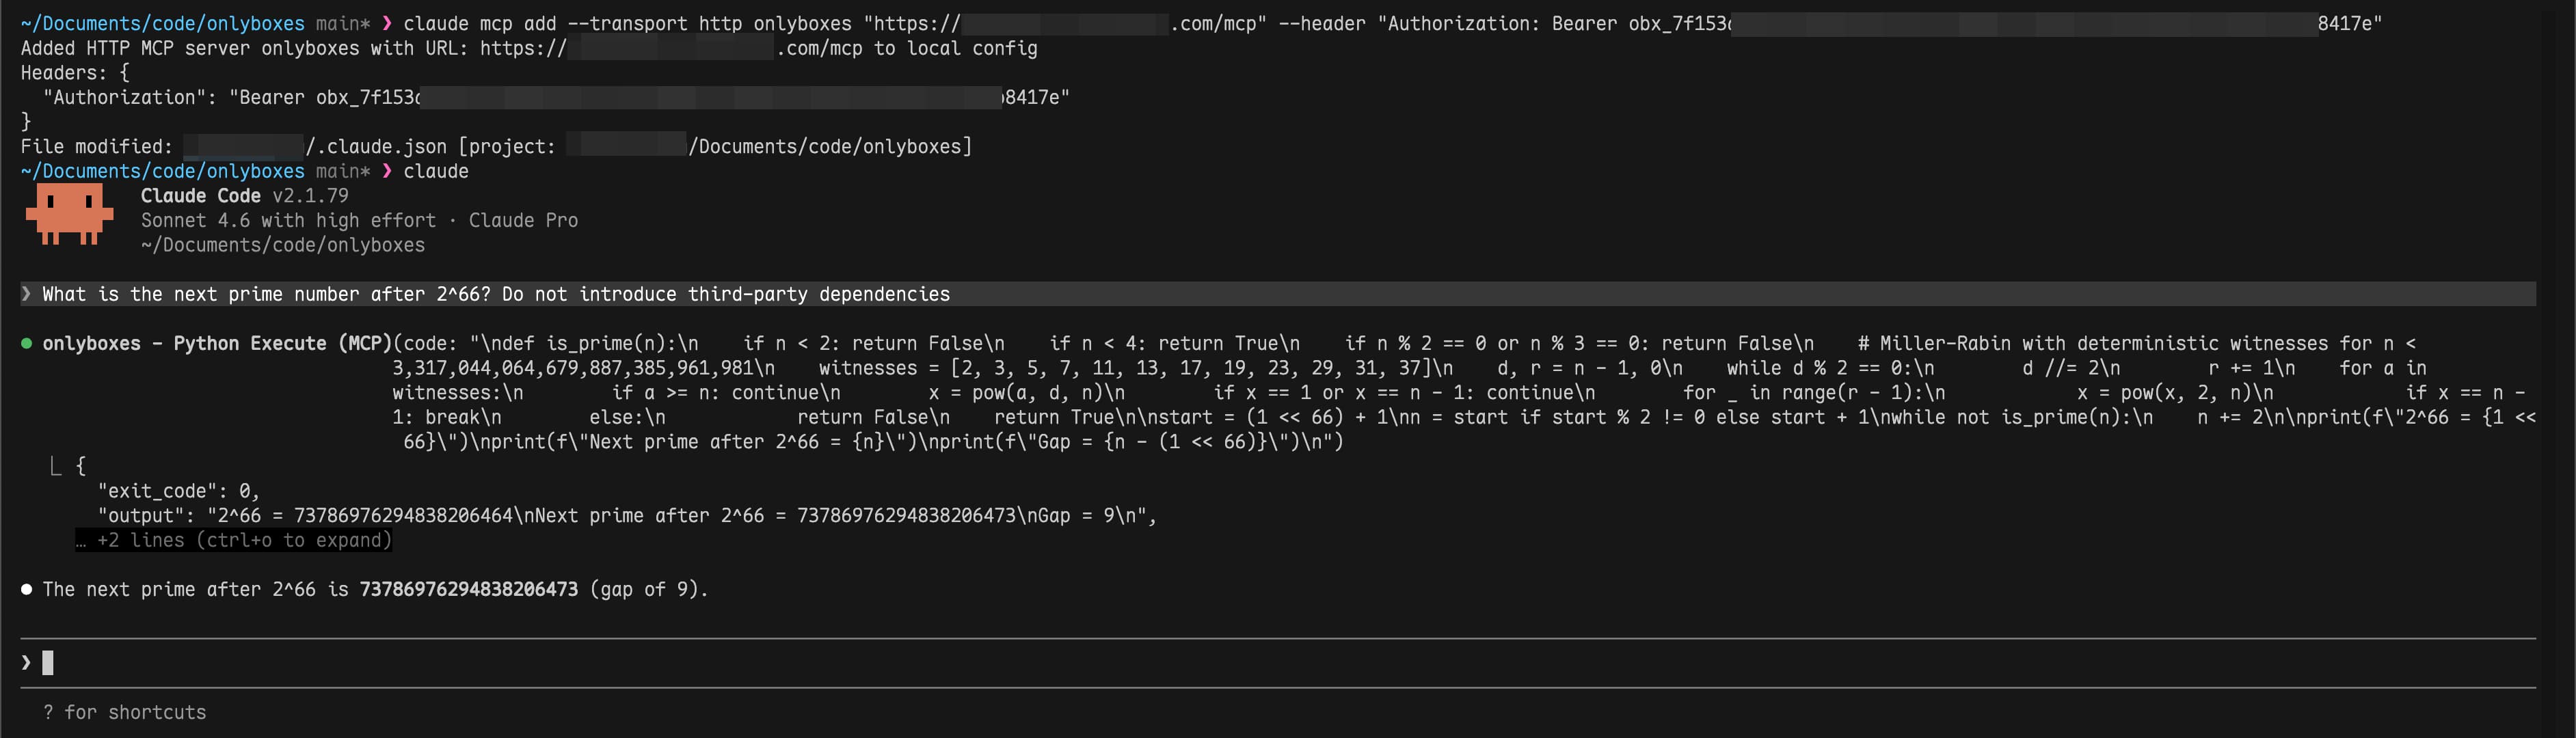
Configure the MCP server in Claude Code and make a request: